
Tutorial
Build a Cookie Clicker App with Clerk and Hasura


Ian McPhail
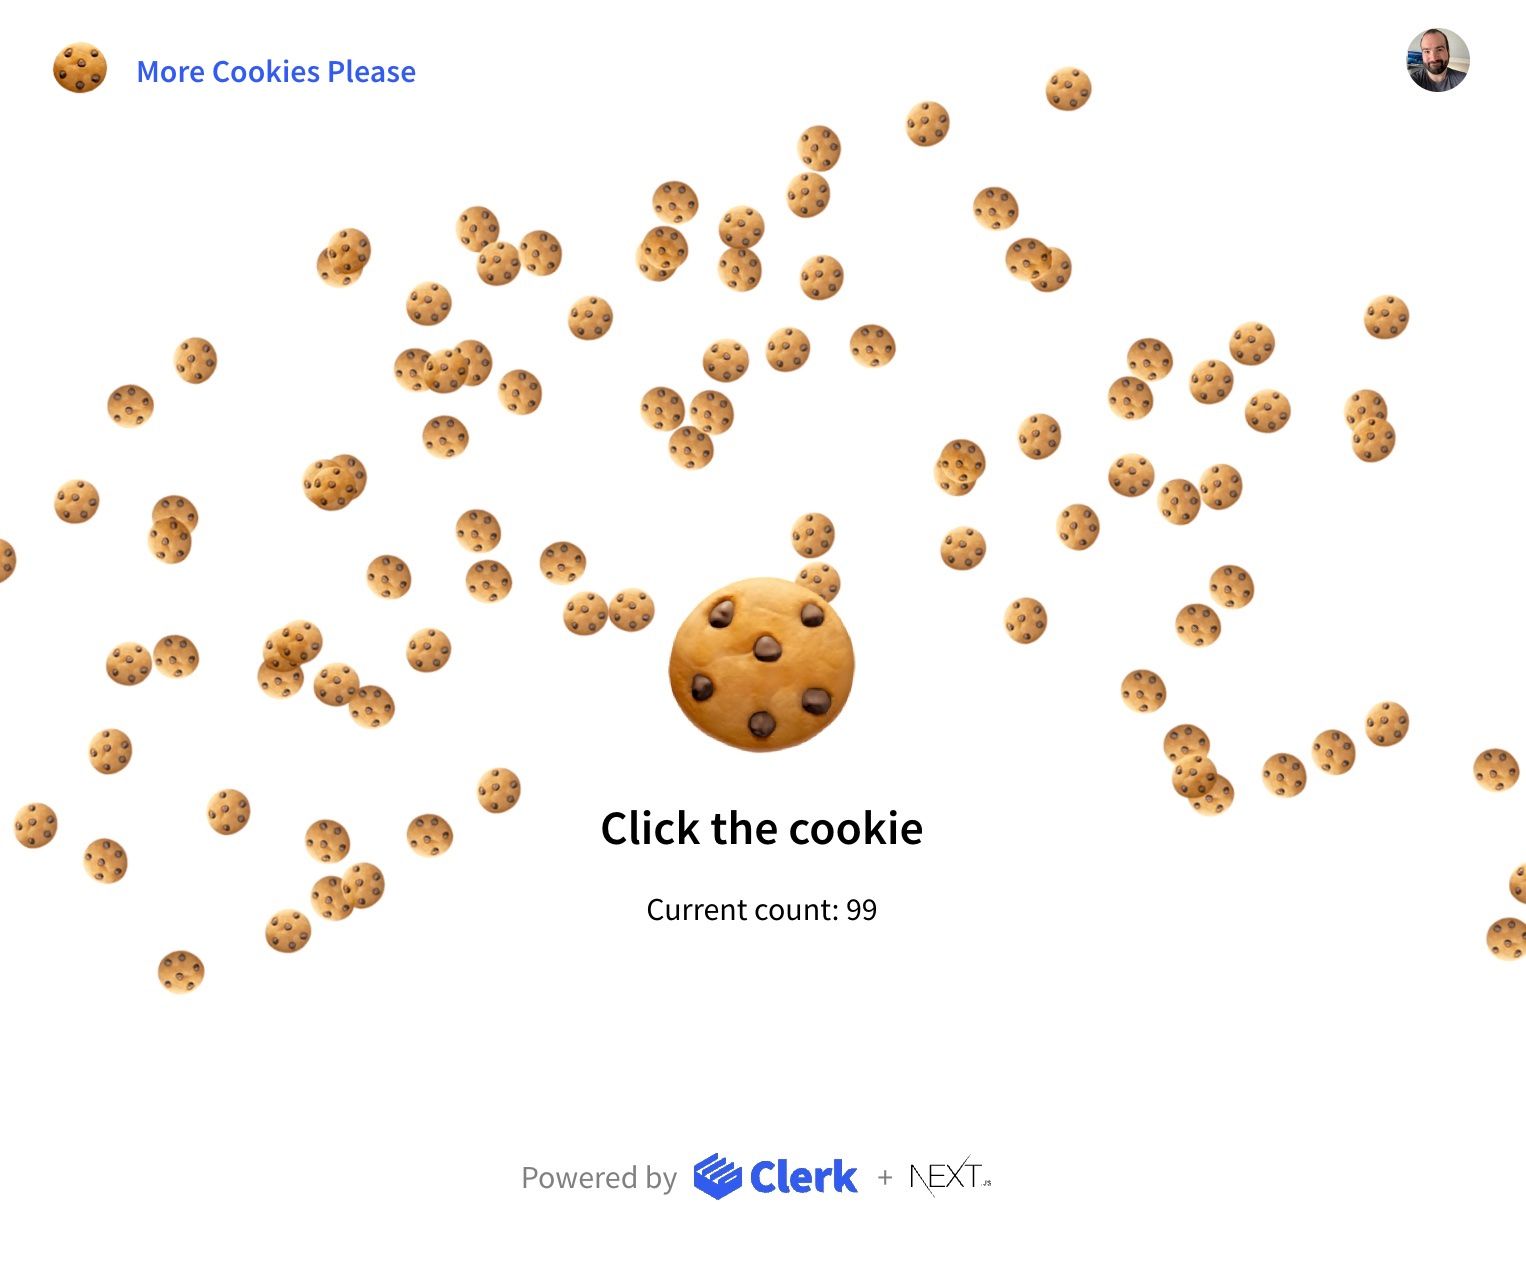
In this tutorial we will use Clerk with Hasura to build a full-stack Next.js app with a database and GraphQL API, all without having to write any backend code.


Closing thoughts
Hope you had fun building this. You now have a complete Cookie Clicker app built using Clerk, Hasura, and Next.js — with no backend code required! To take it even further, you could implement an actual scoreboard that keeps track of all the cookie clicks from multiple users. Then deploy this app to production, share it with your friends, and see how much idle time they have on their hands. 😆
If you enjoyed this tutorial or have any questions, feel free to reach out to me (@devchampian) on Twitter, follow @ClerkDev, or join our support Discord channel. Happy coding!


Start now,
no strings attached
Start completely free for up to 10,000 monthly active users and up to 100 monthly active orgs. No credit card required.
Pricing built forbusinesses of all sizes.
Learn more about our transparent per-user costs to estimate how much your company could save by implementing Clerk.
Newsletter!
The latest news and updates from Clerk, sent to your inbox.